How to Do Gel Ombre Nails: Sponge or Brush
Ombré gel nails are a stunning nail art trend that allows for a seamless gradient effect, effortlessly blending colors to create a captivating look.
This article will guide you through the essential techniques to master ombré gel nails, empowering you to apply your skills like a pro.
From understanding the basics of ombré nails to gathering the necessary supplies and applying the polish, you’ll learn everything you need to enhance your manicure experience.
Materials Needed for Gel Ombre

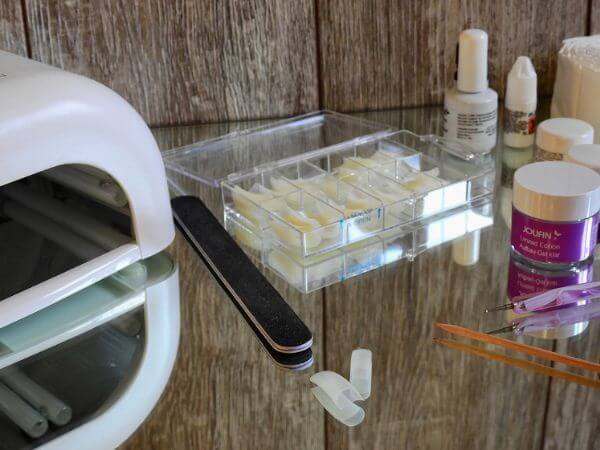
To create gel ombre nails, you’ll need specific tools and products. Start with a UV or LED lamp for curing the gel polish. Choose two or more complementary gel polish colors for the gradient effect.
Essential tools include:
- Base coat and top coat
- Makeup sponge
- Nail file and buffer
- Cuticle pusher
- Alcohol wipes
- Lint-free wipes
You’ll also need a small brush or toothpick for blending. Gel polish remover and foil wraps are helpful for eventual removal. With these materials, you’re ready to achieve a stunning gel ombre manicure at home.
Techniques to Create Ombré Gel Nails
Choosing the Right Brush
Selecting the appropriate brush is vital for achieving a flawless ombré effect. A specialized ombré brush, which typically has soft, uneven bristles, allows for better blending of colors, providing a smooth transition that enhances the overall manicure.
Alternatively, a clean sponge can also be used to create the gradient effect; this method is particularly effective for beginners.
If using a brush, opt for one with firm bristles that can pick up gel polish without absorbing too much product.
The technique of stippling or tapping with the brush can help blend the colors seamlessly, while a sponge can be rolled or pressed onto your nail to create a seamless transition from one color to the next, ensuring your nails look professionally done.
Technique 1: Side-to-Side Blending for Finishes
Overview of the Side-to-Side Technique
The side-to-side blending technique is all about smooth transitions. This method is particularly effective for lighter colors, allowing them to mesh seamlessly; think hot pink and pale pink for gorgeous barbie nails.
It’s like painting, swaying a brush back and forth gently to mix two colors without muddying them. When blending, always keep your strokes consistent and control the pressure.
When to Use This Method Versus Stippling
- If you’re working with lighter or brighter shades, go for the side-to-side technique.
- Stippling is better suited for darker colors where you want defined separation.
Maintaining Color Integrity During Blending
One key benefit of the side-to-side technique is color integrity. You don’t want colors to lose their vibrancy, right? To keep them fresh:
- Wipe your brush frequently to avoid cross-contamination of colors.
- Apply gentle pressure; let the brush do the work.
- Give each layer time to cure so that colors remain distinct and bright.
Technique 2: The Stippling Method Explained
1. Start with a Thin Layer: Begin by applying a thin layer of gel polish. Consider using a lighter shade of lavender. Let it cure properly.
2. Apply the Second Color: Next, use a darker shade of lavender or purple. Apply it where you want the ombre effect to occur. But don’t forget – layering is crucial!
3. Stippling for Blending: Using a stippling brush, gently dab at the meeting point of the two colors. This technique pushes the colors together without dragging them, creating a smooth transition.
Tips for Layering Colors Effectively
- Work Quickly: The gel polish can dry fast, so layer swiftly.
- Wipe the Brush: Always clean your brush between colors to avoid muddying.
- Focus on Brightness: Ensure your vibrant color remains bright by not over-mixing.
How to Avoid Color Mixing Disasters

Have you ever ended up with a muddy mix instead of a beautiful blend? Here’s how I avoid that:
- Use a Light Touch: Don’t press too hard while stippling. The aim is to blend delicately.
- Keep It Thin: Thin layers help in blending, create depth, and reduce mistakes.
- Work with Two Colors: Stick to two colors for seamless blending. It keeps the design clear and attractive.
Technique 3: The French Ombre Style
The French ombre style is a timeless nail art technique that never goes out of fashion.
Applying Color for a Classic French Ombre
Start by selecting a soft peach shade. This will be your base color. Applying this color evenly will set the groundwork for your ombre effect. Next, layer with a bright white at the tips. It’s essential to think about how these colors blend. The goal is a beautiful transition.
Blending White with a Tinted Base
To achieve that perfect blend, you should gently drag the white upwards while pulling the peach down. Keep a soft touch and move your brush in smooth motions to create a delightful gradient that isn’t harsh.
| Step | Description |
| 1 | Apply a peach base color. |
| 2 | Layer with bright white at the tips. |
| 3 | Gently drag the white upwards while blending. |
| 4 | You can try other shades |
Common Mistakes and Tips for Perfection
Common mistakes when creating ombré nails include using colors that are too far apart in tone, which can make blending difficult and disrupt the gradient effect.
It’s advisable to start with similar shades for a more seamless transition, gradually moving to darker or lighter hues. Another mistake is applying too much product, which can lead to a thick and uneven finish.
To avoid this, use thin layers of gel polish and build up the color gradually, allowing each layer to cure properly.
Additionally, be patient during the blending process; rushing can lead to visible lines rather than a smooth gradient. Always remember to clean up any excess polish around the cuticles with a brush dipped in nail polish remover or a cotton ball to ensure a neat finish, making your ombré nails truly stand out.
Related Read: How to get rid of stains on gel nails
Experimenting with Color Combinations
Color selection is crucial in creating stunning ombré nails. Experimenting with various color combinations can lead to unique and eye-catching designs.
For instance, using pastel shades can create a soft and delicate look, while bold colors can make a striking statement.
Additionally, incorporating glitter or metallic shades can add sparkle and dimension to the ombré effect, making your manicure stand out even more.
It’s also possible to create seasonal designs by choosing colors that reflect the time of year, such as warm tones for fall or bright hues for summer.
Using Nail Art to Enhance Your Design
Nail art can significantly enhance the look of ombré gel nails.I normally add designs such as floral patterns, geometric shapes, or even simple stripes can create a more intricate and personalized manicure that showcases your creativity.
Nail stickers or decals can also be applied over the ombré base for added flair, allowing for endless customization options.
For those looking to incorporate more texture, using 3D nail art elements like gems or studs can elevate the design further. It’s important to ensure that any additional nail art complements the ombré effect rather than overpowering it, creating a balanced and cohesive look.
Aftercare Tips for Longevity

Daily Nail Care Tips
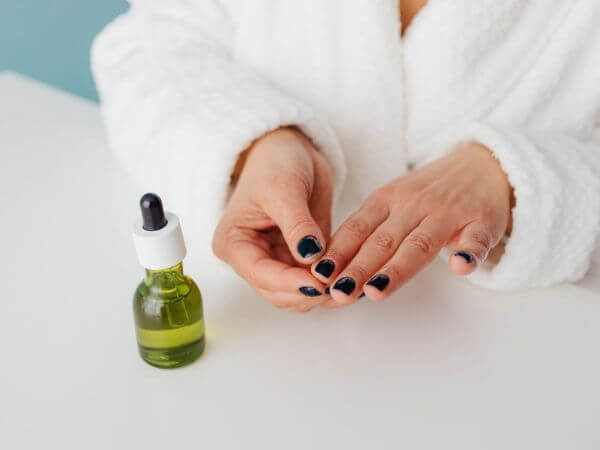
Apply cuticle oil daily to nourish your nails and surrounding skin. This helps prevent dryness and peeling. Wear gloves when doing household chores or washing dishes. This protects your nails manicure from harsh chemicals and water exposure.
Avoid using your nails as tools. Opening cans or scratching off labels can cause chips and damage. Instead, use proper tools designed for these tasks.
Keep your hands moisturized. This helps maintain the overall health of your nails and cuticles.
Be gentle when filing your nails. Use a fine-grit file and always file in one direction to prevent weakening the nail structure.
When to Reapply or Refresh Your Ombré Design
Reapplying or refreshing your ombré design depends on several factors, including the growth of your nails and the wear of the gel.
Typically, gel nails can last two to three weeks before needing a touch-up. If you notice significant growth at the cuticle area or if the gel starts to chip or lift, it’s a clear indication that it’s time to refresh the design.
Additionally, seasonal changes might inspire you to change your color palette to reflect the new season.
What are the basic steps for creating ombre nails using gel polish?
Apply a base coat and cure it. Paint the lighter color on the entire nail and cure. Apply the darker shade to the tip, blending it towards the center. Cure and seal. Use a top coat.
What are some tips for creating a gradient effect on nails with gel polish?
Choose colors that complement each other. Work in thin layers for better blending. Use a clean brush for seamless transitions. Practice your technique on nail tips before applying to your nails


